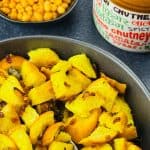


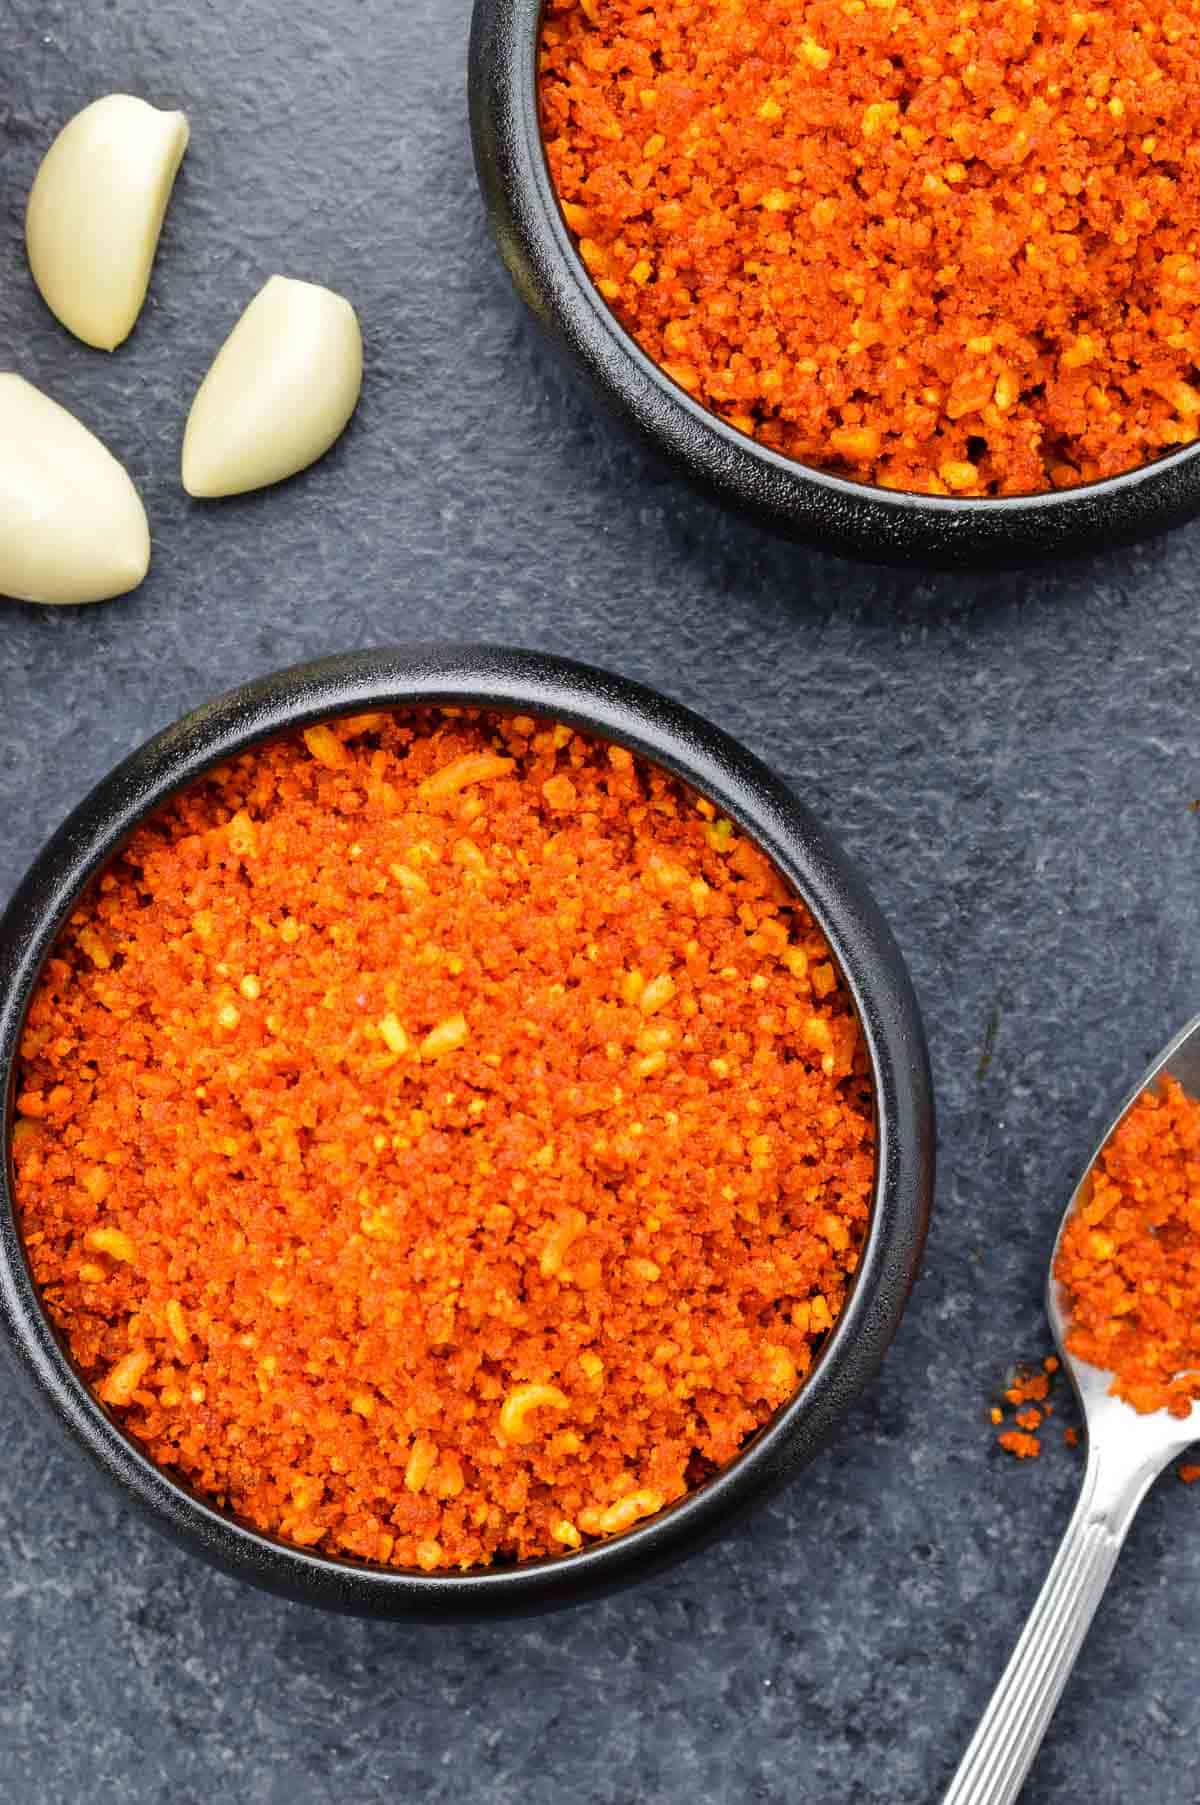
This Dry Garlic Chutney for Vada Pav is also known as the Vada Pav Chutney, as it's the one chutney that is required for making Mumbai street style Vada Pav.
And it's super easy to make at home, requiring only 4 basic ingredients & about 5 minutes to make! And tastes so much better than any store-bought garlic chutney, that once you make it at home, you'd never get it from the store again! Especially because it's pretty low-effort to make, and lasts very well too!
Here's the thing, if you are getting Vada Pav from a store / restaurant, or some such, then you'll likely get some kind of chutney with it as well. If you are getting a more authentic version of Vada Pav, then you'd most likely get some version of this dry garlic chutney. And it's fine!
But in case, you are making Vada Pav at home, then please, don't even consider getting store-bought garlic chutney to pair with it. Truly, it's just not worth it.
I mean especially if you are already going to the effort of making Vada Pav, then making this garlic chutney will hardly take an additional few minutes.
Just fry the leftover gram flour / besan batter after frying the vadas, and a few cloves of garlic right after that. It will hardly take 2-3 minutes to do that. And with that ready, crushing it together, along with chilli powder & salt will just take another couple of minutes. And done! Plus this chutney lasts well too!
So many reasons to make it at home, even outside the taste, which is too good to be even compared with the store-bought ones, full of preservatives!
With that said, here's my recipe to make this dry garlic chutney (also known as Vada Pav chutney) at home (also check out the additional tips, shared at the end of the recipe, to adjust the texture and taste of this chutney based on your preferences).
Jump to:
Ingredients for Dry Garlic Chutney (Vada Pav Chutney)

Ingredient notes
- Fried gram flour (besan) batter - When you make Vada Pav at home, you'll usually have some leftover besan batter after frying the vadas. Fry that, and you'll have fried besan batter handy, for making this dry garlic chutney. That's what I have used here.
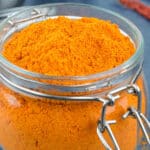
If however, you don't have leftover batter, or are making just this chutney for something else, then I've shared how to make the fried besan batter below. - Chilli powder - Traditionally, kashmiri chilli powder is used for this recipe, which adds more color than spice. But you can use a mix of kashmiri & red chilli powder, based on your preferences (see notes).
How to Make Dry Garlic Chutney for Vada Pav
Making fried batter
- In a bowl, take ¼ cup gram flour, ⅛ teaspoon of salt, ⅛ teaspoon of hing (asafoetida) powder, a pinch of turmeric, and mix them together.
- To it add about 2 tablespoons of water (or as required), and incorporate it using a whisk, till you get a smooth flowing batter.
- Set aside, and let the batter rest for 15-20 minutes.
- Heat up oil, and then using a spoon, fork, or even just your fingers spread apart, pour this batter in the oil, a little at a time, and fry for a couple of minutes, till cripsy.
- Then take the fried batter out, place it on a plate lined with paper towel to absorb the excess oil, and let it cool.
- This should give you about ¾ cup of fried batter.
Note: If you want to make more or less quantity than what I have shared, simply use the slider in the recipe card below to adjust the quantities based on your preference.

Frying garlic
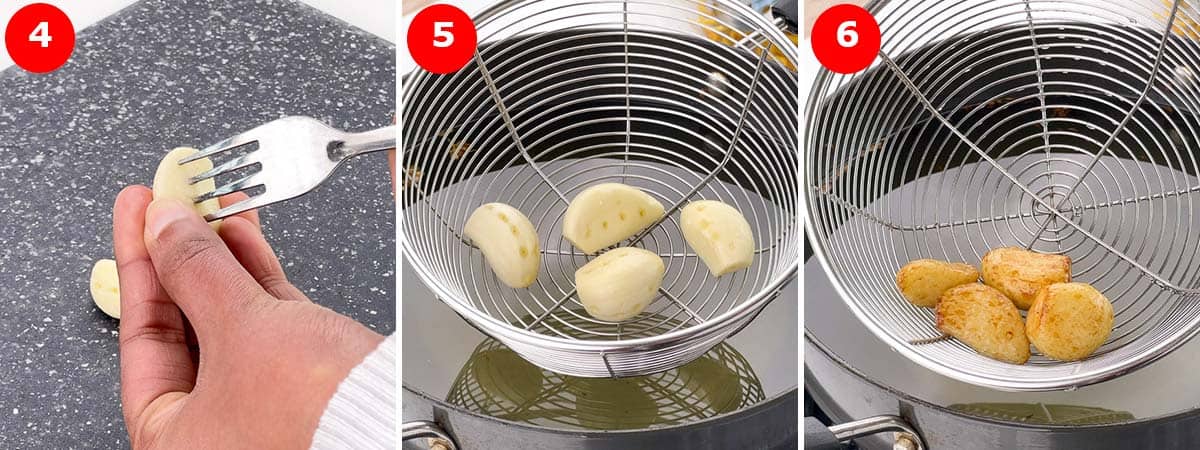
- Take 4 cloves of garlic, and first poke holes in them using a fork (or a knife), to ensure that the garlic cloves don't pop / burst in the oil, when they are fried.
- Then place the cloves in a steel strainer or skimmer used for deep frying, and lower them into hot oil for a few seconds, then take them out. Repeat this a few times, till the garlic cloves are lightly roasted, and turn reddish in color.
- I try to avoid putting whole garlic cloves directly in hot oil, as they can easily get burnt and / or pop or burst in the oil.
- When the garlic cloves are roasted, place them on a plate lined with paper towel to absorb the excess oil, and set them aside to cool.
Important - ensure that the fried besan batter & garlic cloves have completely cooled down before crushing them in the mixie. And if required, pat down any excess oil on them, by using a paper towel. All of it helps to get the dry texture of the chutney.
Making dry garlic chutney
- When the garlic cloves have completely cooled down, place them in a dry mixie, and quickly pulse them to crush the cloves.
- It's best to first only crush the garlic cloves, before adding the fried besan batter in the mixie. Because otherwise, by the time it takes to crush the garlic, the fried besan batter might be crushed into a paste. And you don't want that, because you need a crumble-y dry garlic chutney, not a paste-like wet garlic chutney.

- When the garlic has been crushed, then in the mixie - add in about ½ cup of fried besan batter, 1 tablespoon of kashmiri chilli powder, and a pinch of salt (or to taste). Remember there is salt in the besan batter too!
- Then just pulse all of these ingredients in the mixie.

- A couple quick pulses will be more than enough to combine all of the ingredients, and still get the dry, crumble-y texture of the chutney.
- Be cautious to not over-mix, else the chutney will turn into a paste, which is not what you want for this chutney.

Notes / Variations
- For a spicier chutney, add ½ teaspoon of red chilli powder to the chutney. Or use half and half of red chilli powder & kashmiri chilli powder, instead of only kashmiri chilli powder.
- If you want to cut down the spice, you can add more of the bajji choor (fried besan batter) or even crumbles of pav / bread. This will also help to recover the dry texture of the chutney, if you accidentally crushed the chutney more towards becoming a paste.
Serving Suggestion
This dry garlic chutney is made to complement Vada Pav. But you can pair it with whatever you prefer. My husband often likes to have a bit of this chutney on the side with dal & rice, and even pairs it with chapatis and dosas too!

More recipes to try..
⭐️ Mumbai Street Style Vada Pav
⭐️ Spicy Kolhapuri Misal Recipe
⭐️ Kolhapuri Style Chicken Curry
As always, I hope you found this recipe useful. If you did, please let me know your rating ⭐️ and feedback ? in the comments below, or simply rate the recipe right on the recipe card. I'd really appreciate it. ❤️

Dry Garlic Chutney for Vada Pav (Vada Pav Chutney)
Equipment
- Deep Fry Pan
- Deep frying strainer / skimmer
Ingredients
Ingredients to make fried batter
- ¼ cup gram flour (besan)
- ⅛ teaspoon salt
- ⅛ teaspoon asafoetida powder (hing)
- a pinch of turmeric powder (haldi)
- 2 tablespoon water or as required
Other ingredients for dry garlic chutney
- 4 garlic cloves
- 1 tablespoon kashmiri chilli powder *see notes
- a pinch of salt or as required
Instructions
- I always fry the leftover gram flour (besan) batter after making vada pav, and use it to make this garlic chutney for vada pav. But if you don't have leftover batter, or are making just this chutney for something else, then make the fried besan batter as directed below.
For making fried batter
- In a bowl, take ¼ cup gram flour, ⅛ teaspoon of salt, ⅛ teaspoon of hing (asafoetida) powder, a pinch of turmeric, and mix them together.
- To it add about 2 tablespoons of water (or as required), and incorporate it using a whisk, till you get a smooth flowing batter.
- Set aside, and let the batter rest for 15-20 minutes.
- Heat up oil, and then using a spoon, fork, or even just your fingers spread apart, pour this batter in the oil, a little at a time, and fry for a couple of minutes, till cripsy.
- Then take the fried batter out, place it on a plate lined with paper towel to absorb the excess oil, and let it cool.
- This should give you about ¾ cup of fried batter.
For frying garlic
- Take 4 cloves of garlic, and first poke holes in them using a fork (or a knife), to ensure that the garlic cloves don't pop / burst in the oil, when they are fried.
- Then place the cloves in a steel strainer or skimmer used for deep frying, and lower them into hot oil for a few seconds, then take them out. Repeat this a few times, till the garlic cloves are lightly roasted, and turn reddish in color.
- I try to avoid putting whole garlic cloves directly in hot oil, as they can easily get burnt and / or pop or burst in the oil.
- When the garlic cloves are roasted, place them on a plate lined with paper towel to absorb the excess oil, and set them aside to cool.
For making dry garlic chutney
- When the garlic cloves have completely cooled down, place them in a dry mixie, and quickly pulse them to crush the cloves.
- It's best to first only crush the garlic cloves, before adding the fried besan batter in the mixie. Because otherwise, by the time it takes to crush the garlic, the fried besan batter might be crushed into a paste. And you don't want that, because you need a crumble-y dry garlic chutney, not a paste-like wet garlic chutney.
- When the garlic has been crushed, then in the mixie - add in about ½ cup of fried besan batter, 1 tablespoon of kashmiri chilli powder, and a pinch of salt (or to taste). Remember there is salt in the besan batter too!
- Then just pulse all of these ingredients in the mixie. A couple quick pulses will be more than enough to combine all of the ingredients, and still get the dry, crumble-y texture of the chutney.
- Be cautious to not over-mix, else the chutney will turn into a paste, which is not what you want for this chutney.
- Pair this dry garlic chutney with Vada Pav & enjoy!
Notes
- Ensure that the fried besan batter & garlic cloves have completely cooled down before crushing them in the mixie. And if required, pat down any excess oil on them, by using a paper towel. All of it helps to get the dry texture of the chutney.
- For a spicier chutney, add ½ teaspoon of red chilli powder to the chutney. Or use half and half of red chilli powder & kashmiri chilli powder, instead of only kashmiri chilli powder.
- If you want to cut down the spice, you can add more of the bajji choor (fried besan batter) or even crumbles of pav / bread. This will also help to recover the dry texture of the chutney, if you accidentally crushed the chutney more towards becoming a paste.
Nutrition
Video Recipe
If you'd like FREE recipes and meal prep ideas delivered directly to your email inbox every Friday in one short email, then subscribe to the Foodie Friday list HERE, and never run out of ideas on what to cook over the weekend or prep for the week ahead. 🙂
Leave a Reply