
If you are looking for an easy ginger garlic paste recipe, so that you don't have to buy the store-bought one that has added preservatives, you have landed at the right place.
In this post, I've shared with you how to make homemade ginger garlic paste in 15-20 minutes and store it properly so that it will last you an entire month. Along with tips on how to prevent ginger garlic paste from turning green (which is a common problem faced by many trying to make this at home).
I have also shared how to freeze ginger garlic paste so that you can make it in bulk, and have it stocked for months.
If you have made ginger garlic paste at home before and are only interested in the recipe and the ratio of the ingredients, do skip ahead to the recipe card, while I share a few pictures of the recipe, and answer some common questions regarding this recipe below.
How to Make Ginger Garlic Paste at Home
1. Wash & dry the ginger & garlic, and then cut off the tips of the garlic cloves and cut ginger into about garlic clove sized cubes.
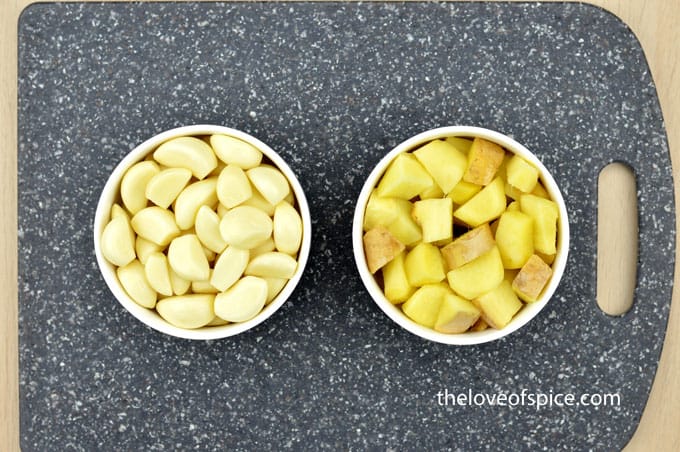
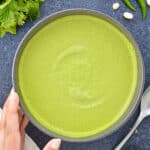
2. To make the ginger garlic paste, in a mixer add the ginger and the garlic.
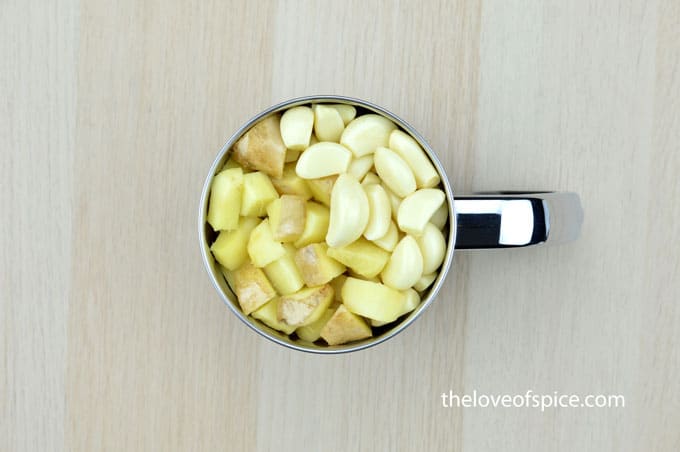
3. Then add in the oil that is heated & cooled to a warm temperature, and salt.
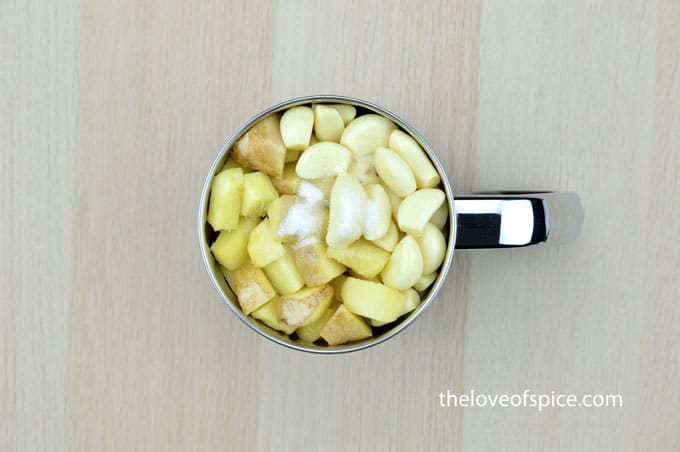
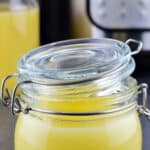
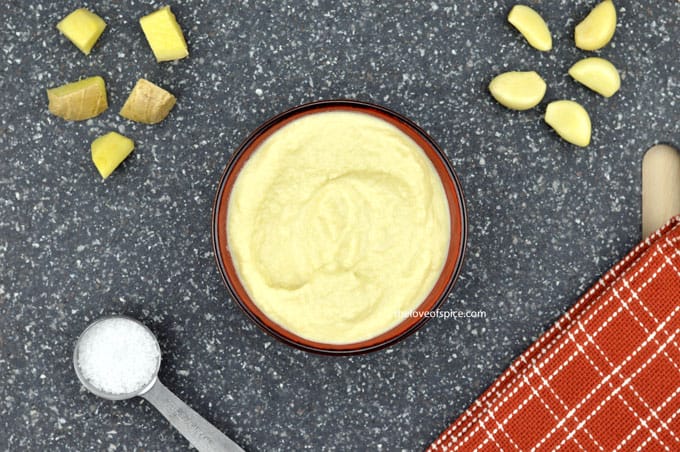
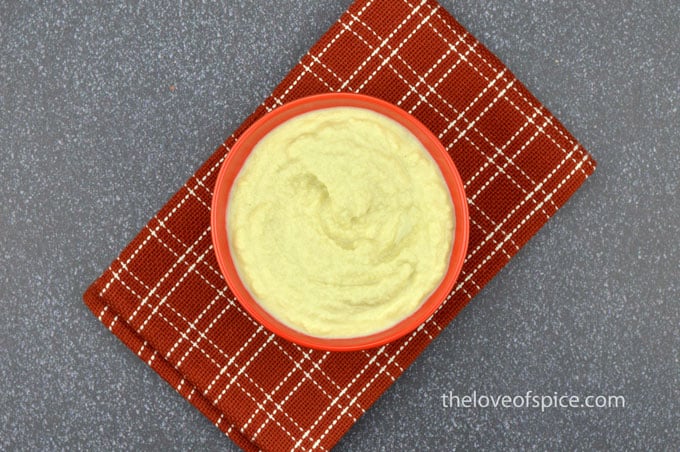
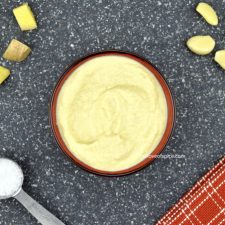
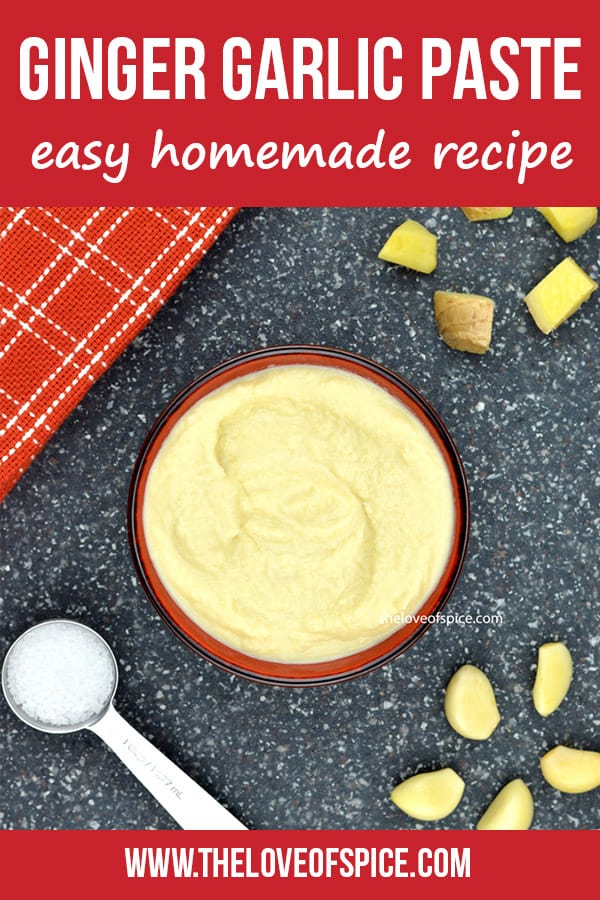
4. Blend well to form a smooth paste. And then store the ginger garlic paste in the fridge in an air tight glass container.
Ratio of Ginger & Garlic
As you will see in the recipe below, I use 1:1, but that is because I use the regular variety of ginger. If you want to use organic ginger, I'd recommend a 1:2 ginger garlic ratio, as organic ginger is more potent.
Storage and Shelf Life
If you follow all the steps outlined in the recipe below, a bottle of this ginger garlic paste will last you an entire month. But you can definitely make the paste in bulk and freeze it, in which case it will last you for 4-6 months.
How to Freeze Ginger Garlic Paste

These are the steps you can follow to store, preserve and freeze ginger garlic paste for future use.
- Make ginger garlic paste the way you would normally do.
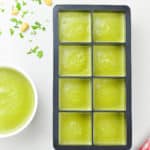
- Once the paste is ready, transfer it into ice cube tray (s).
- Then cover the tray (s) with a lid or plastic cling wrap and place it in the freezer, till the paste has frozen solid.
- Once the ginger garlic paste cubes are totally frozen, transfer them from the ice cube tray (s) to a freezer safe zip-lock bag.
- Seal the zip-lock bag, after ensuring to take all the air out.
- Finally, label and store the bag in the freezer for future use.

Thawing Ginger Garlic Paste for Use
When you are ready to use the frozen ginger garlic paste, simply remove the number of cubes of the paste you need, and thaw them in a bowl in the fridge or on your kitchen counter top at room temperature.
Then re-seal the bag with the remaining ginger garlic cubes, and put it back in the freezer.
I usually remove as many cubes as I need for a week or two, and transfer them into an air tight glass jar that I keep in my fridge to use as and when I require the paste.
How to Prevent Ginger Garlic Paste from turning Green
This is a challenge I faced regularly when I first started making ginger garlic paste. But over time I have fixed one thing at a time to ensure my paste doesn't turn green. And even though I have shared it in the recipe below, I'll highlight it here too, as the steps and the details are critical to preserving ginger garlic paste.
But before that I want to mention that just because your ginger garlic paste turns green, it doesn't mean that the paste is bad or unfit to consume. Unless its smells odd or is moldy. Just the color is not the problem.
That being said, to ensure the ginger garlic paste preserves well, while making ensure that -
- Chopped ginger & garlic pieces are totally dry
- Use oil and not water to make paste
- Add salt to preserve the paste
- Store the paste in the fridge in an air-tight glass container
Ginger Garlic Paste Substitute Measurement
Even though I try my best to always have homemade ginger garlic paste available, there are times I run out, and I have to use the ginger and garlic instead. In which case, this is how I substitute -
1 tablespoon of ginger garlic paste = 1 inch thick ginger + 2 cloves of garlic
Recipes that I've Used This Ginger Garlic Paste in:
Chicken Tandoori
Crispy Chicken 65
Rajma Masala
As always, I hope you found this recipe useful. If you did, please let me know your rating ⭐️ and feedback ? in the comments below, or simply rate the recipe right on the recipe card. I'd really appreciate it. ❤️
Ginger Garlic Paste: Recipe, Ratio and Storage Tips
Ingredients
- 2 cup ginger chopped
- 2 cup garlic cloves
- ½ cup oil
- 2 teaspoon salt
Instructions
- Wash ginger and garlic pieces and dry them well.
- Cut off the tips of the garlic cloves and cut ginger into about garlic clove sized cubes. Measure out equal quantity of garlic cloves and ginger cubes.
- Lightly heat and then cool the cooking oil, till it is warm.
- Once the oil is warm - in a mixer - blend the ginger & garlic chunks together with the oil and salt, till it forms into a smooth paste.
- Store the ginger garlic paste in the fridge in an airtight glass container.
For Freezing Ginger Garlic Paste
- Transfer the freshly made paste into an ice-cube tray (or multiple ice trays, depending on the size of the trays and quantity of paste).
- Cover the tray with a lid or plastic cling wrap, and place it in the freezer till the paste is frozen solid.
- Once the ginger garlic paste cubes are totally frozen, remove from the freezer, and transfer the cubes into a freezer safe ziplock bag.
- Seal the bag, after ensuring to remove all the air out from the bag.
- Label & store the bag in the freezer for future use.
- The ginger garlic paste cubes store well for 3-4 months.
Notes
- After you wash the ginger and garlic, try to get the pieces as dry as possible. This is important for the ginger garlic paste to preserve well.
- I cut the ginger cubes to approximately the size of the garlic cloves, but the ginger cubes are usually bigger. Which is okay as it does not need to be exactly, but only approximately the same size.
- I prefer to keep the ginger peel on for additional flavor, but you can choose to use peeled ginger.
- I use canola oil, but I have used vegetable oil too in the past. Either or will work.
- It is very important to store the ginger garlic paste in an air tight glass container in the fridge. Because it will not preserve as well at room temperature or in a plastic container.
- Freezer Note: It's best to always freeze freshly made paste over paste that has been sitting in your fridge for a while.
Please note: The nutrition values are best estimates provided as a courtesy. The exact values can vary depending on the exact ingredients or brands used. If you rely on them for your specific diet and/or health issues, please consult a registered dietician or nutritionist.
Nutrition
This recipe has been updated from the recipe archives, first published in 2019.
If you'd like FREE recipes and meal prep ideas delivered directly to your email inbox every Friday in one short email, then subscribe to the Foodie Friday list HERE, and never run out of ideas on what to cook over the weekend or prep for the week ahead. 🙂
Khushi says
Hi. Would you be so kind in expressing the weights of the ingredients. Thanks for sharing your knowledge.
The Love of Spice says
Hi Khushi, for this recipe, I measure with cups, and my 1 cup = 8oz cup. Hope this helps. Else I can measure and get back when I next make this paste.
Shalzmojo says
I never knew one adds oil to this for blending and not water. Plus no green chillies? I add them to make a spicy paste which I use in all the curries I cook.
LoveOfSpice says
Yeah, I have seen using oil helps preserve it better.
I usually don't add chilies because I use this for a wide variety of dishes, and need the option to control spice level, especially if I am feeding others with lower spice tolerance, lol. If it were only me, I would add chilies every single time.
Rajlakshmi says
Excellent recipe. I usually crush them while cooking but this is going to save so much time
LoveOfSpice says
Thank you, Raj.
Roshan says
This is actually quite simple. The personalised tips are a major bonus.
LoveOfSpice says
Thank you so much, Roshan.