


Soft boiled eggs are the underrated heroes (or heroines?) of breakfast eggs. They don't get nearly enough attention, as their hard boiled counterparts do, or for that matter, even the humble egg omelette. But they are DELICIOUS.
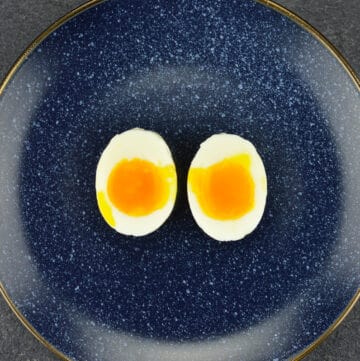
The perfect silky yolk (which is so much like melted cheese?), inside the firm, cooked egg white, is a treat for the eyes and the taste-buds. And makes for an amazing combination with buttered toast or even avocado toast.
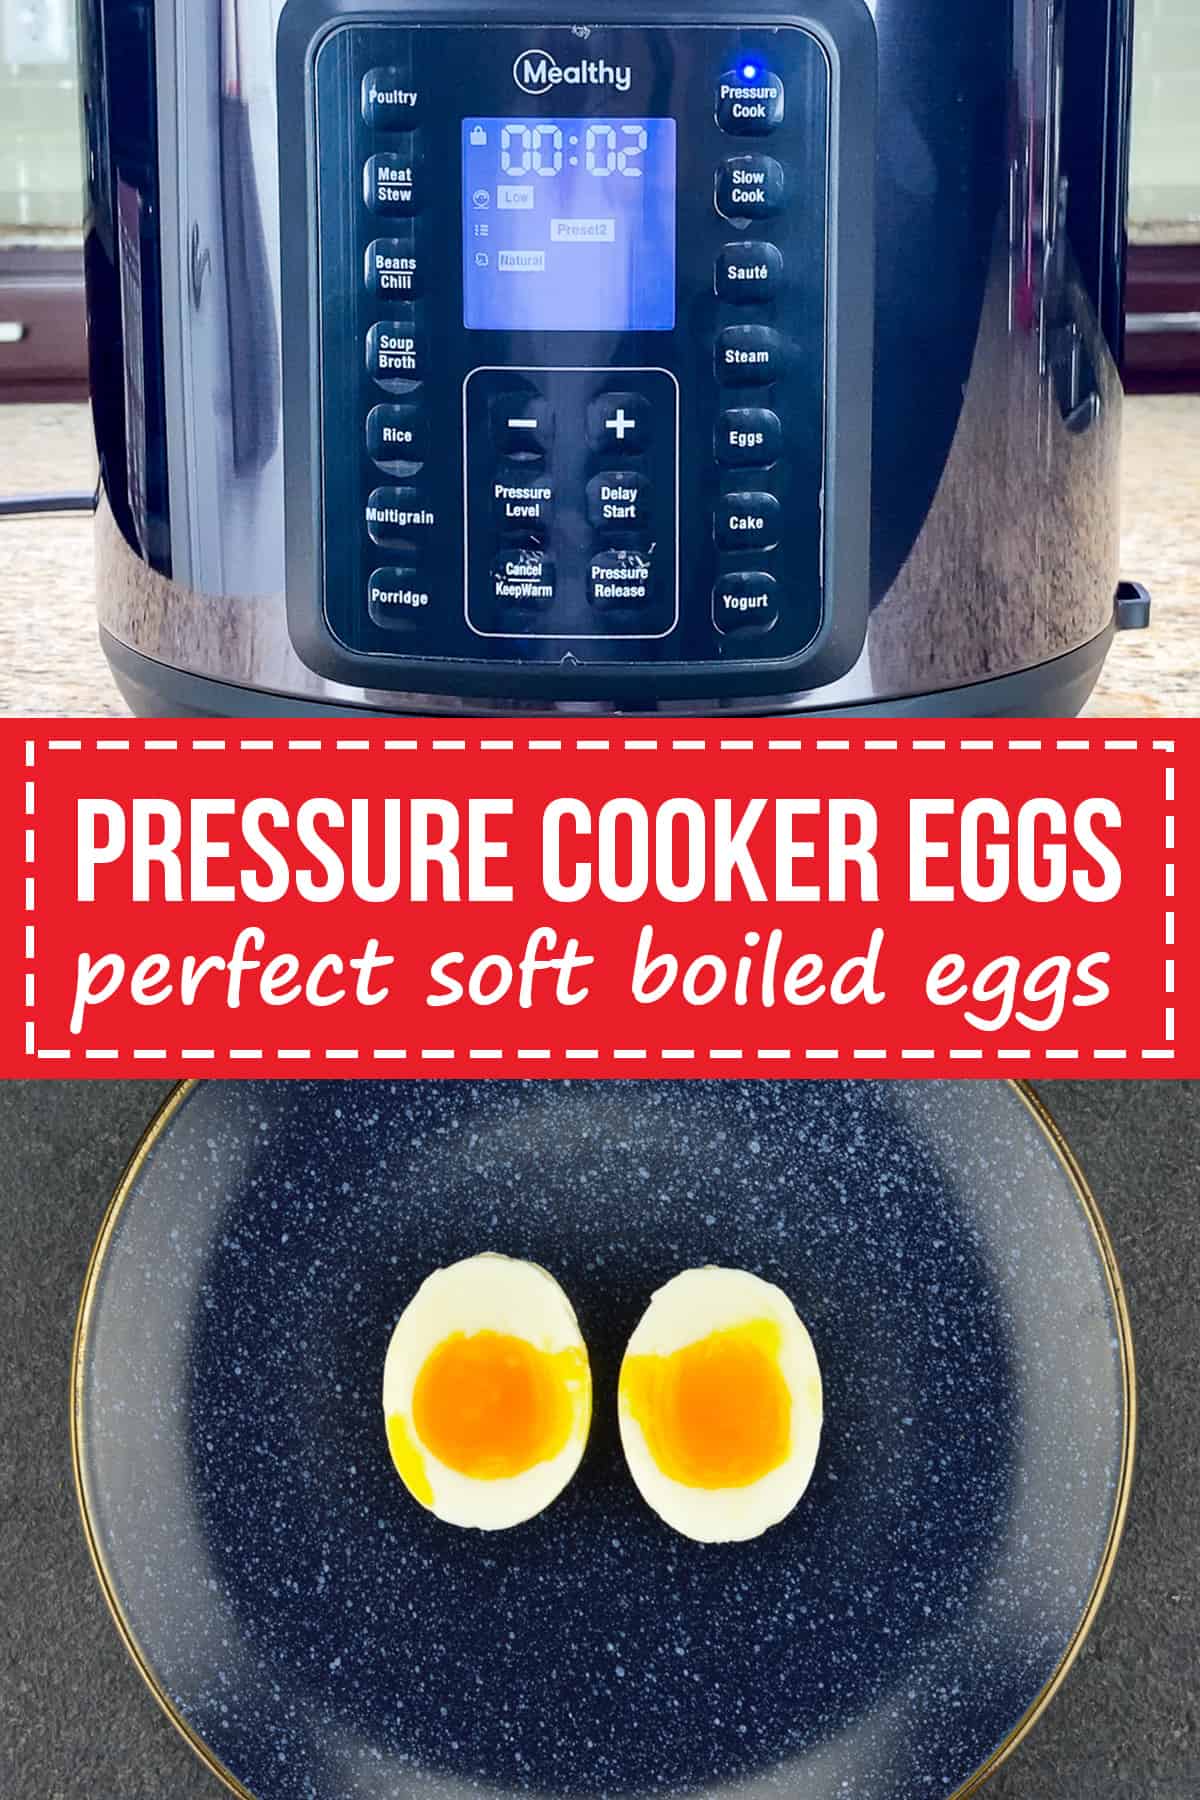
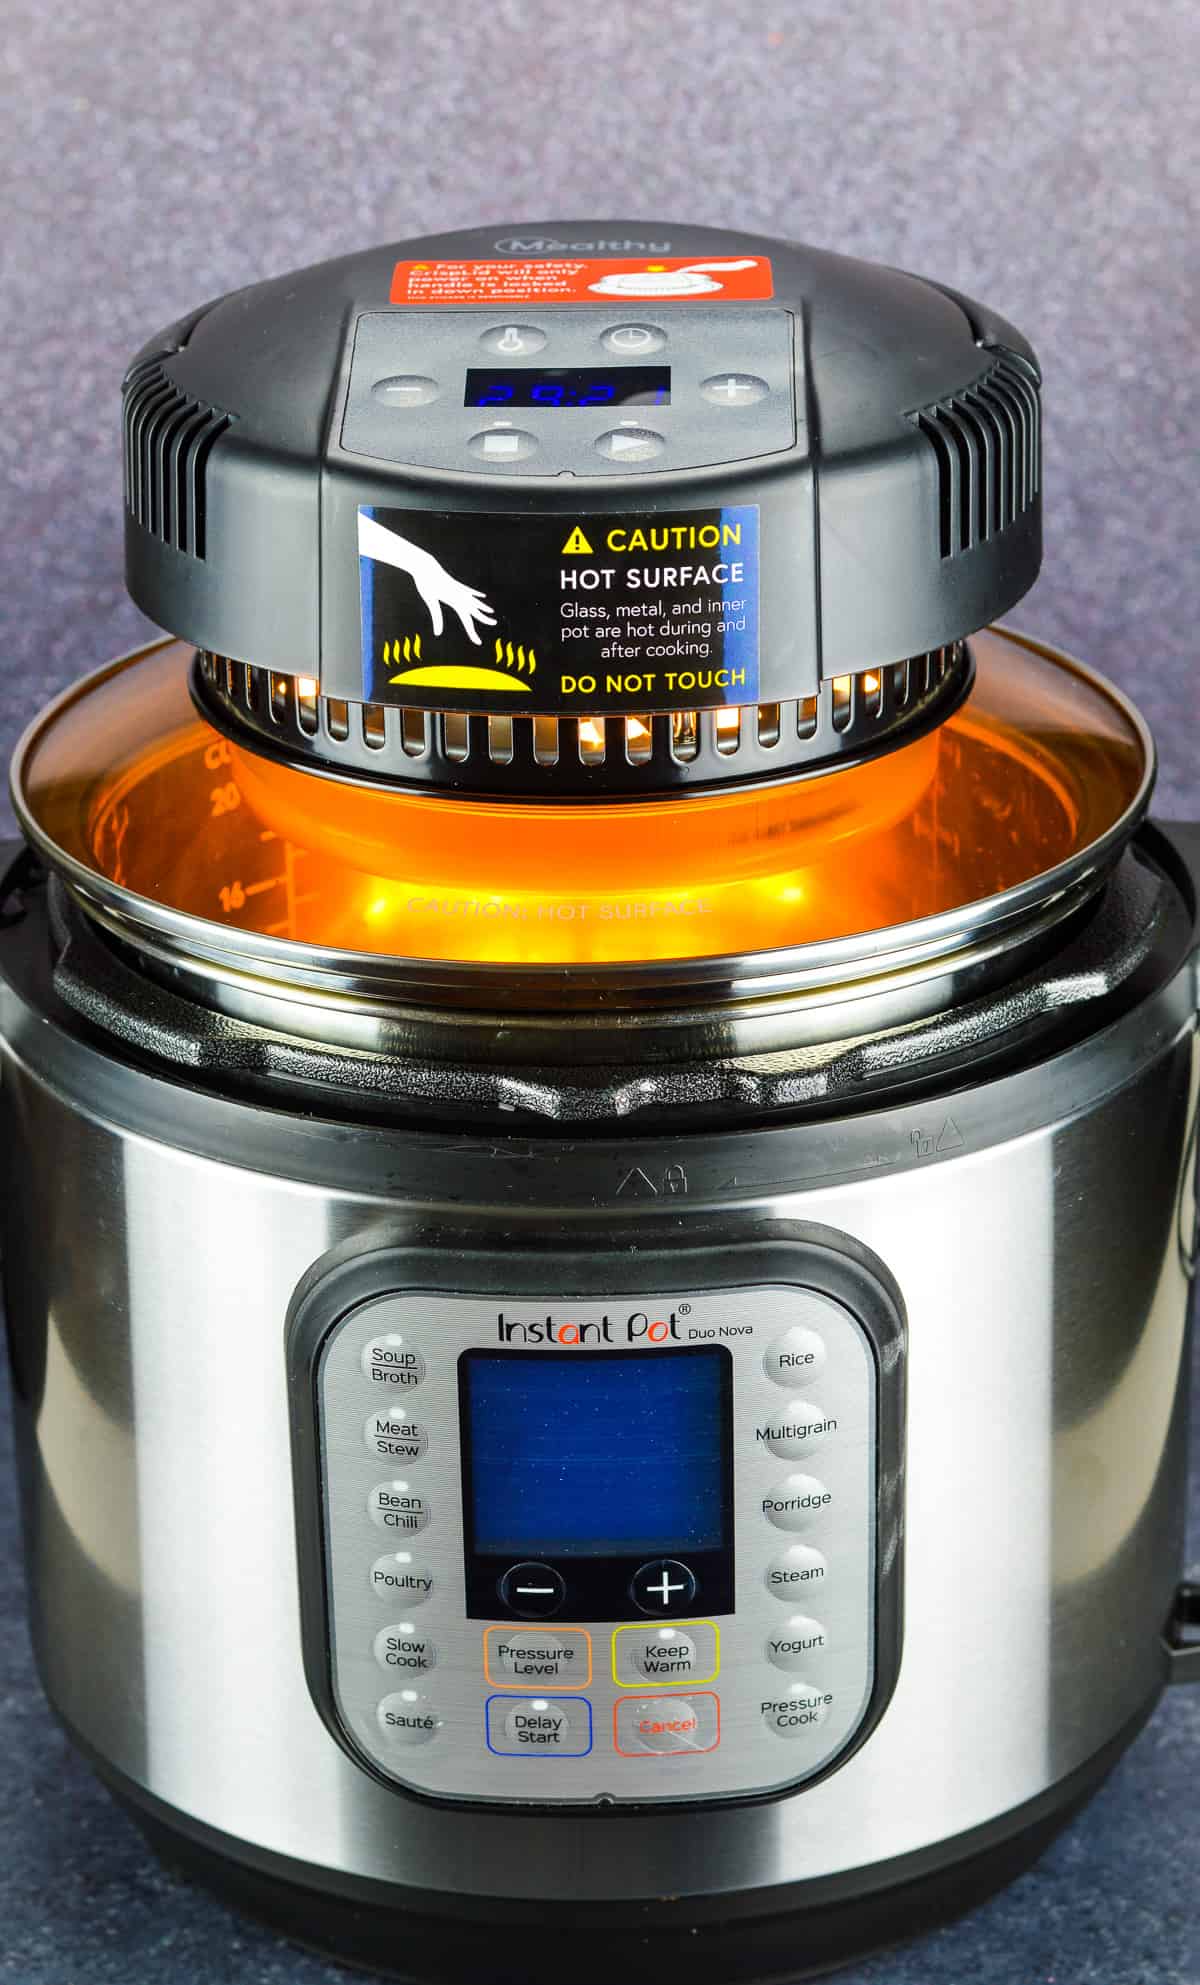
So today, I decided I'll share with you how to make soft boiled eggs in an electric pressure cooker. I have used my new Mealthy Multipot, but you can also do this in the Instant Pot.
However, consider this fair warning, soft boiled eggs can be tricky. Especially if you are overly particular about the consistency of the yolk. Which most people are. I know, I am.
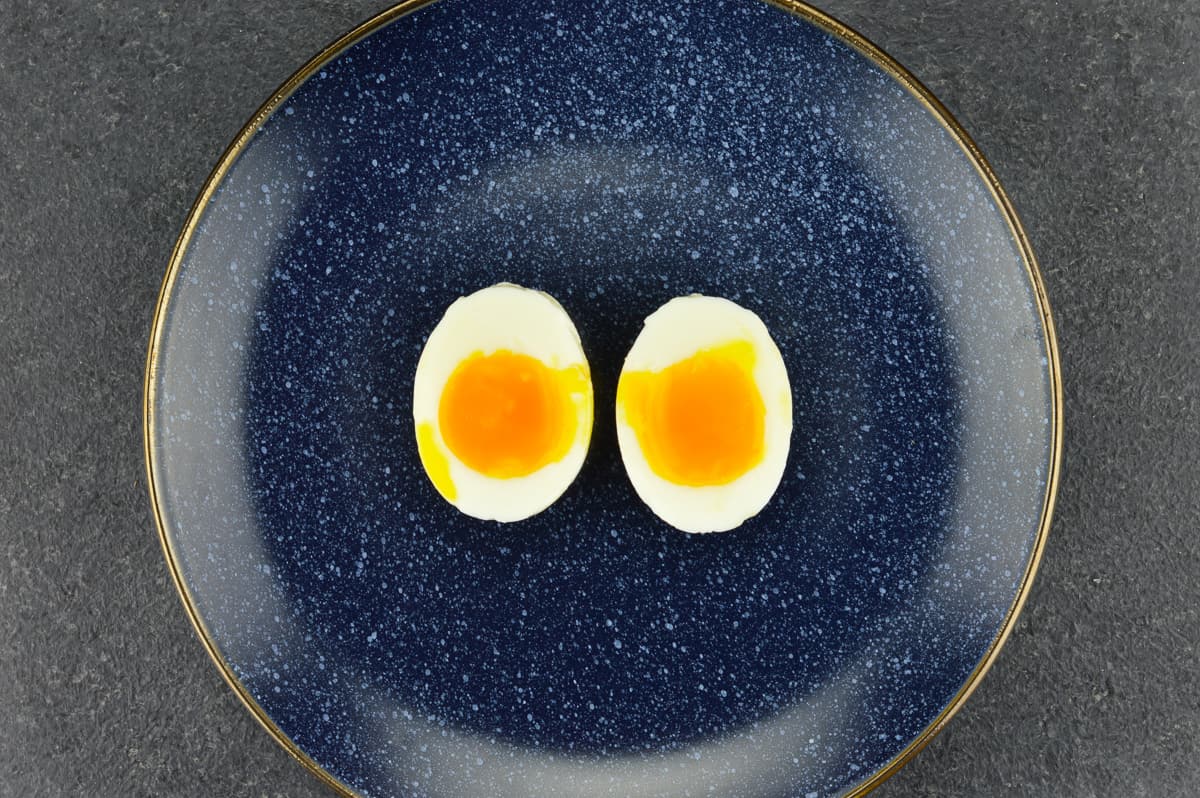
The perfect soft boiled eggs (for me) have properly cooked whites, and yolks that are runny, and have the consistency of melted cheese. Though I know many prefer the yolks to be jammy (the consistency of jam).
Which is why, today, I am sharing this recipe of soft boiled eggs, along with the method I followed to constantly tweak this recipe, till I got the consistency I desired, in the hope that, if you want a different consistency of the yolk (than what I prefer), you'll be able to tweak the time to work it out.
How to Make Soft Boiled Eggs in the Mealthy Multipot
- Plug in the multipot, and add 1.5 cups of really cold water in the inner pot of the multipot. And ensure to use really cold water for this. Because the quantity and temperature of the water determines how much time it takes the pressure cooker to come to pressure. And using really cold water adds a few minutes of time for the cooker to come to pressure, which means an additional few minutes to cook the eggs.
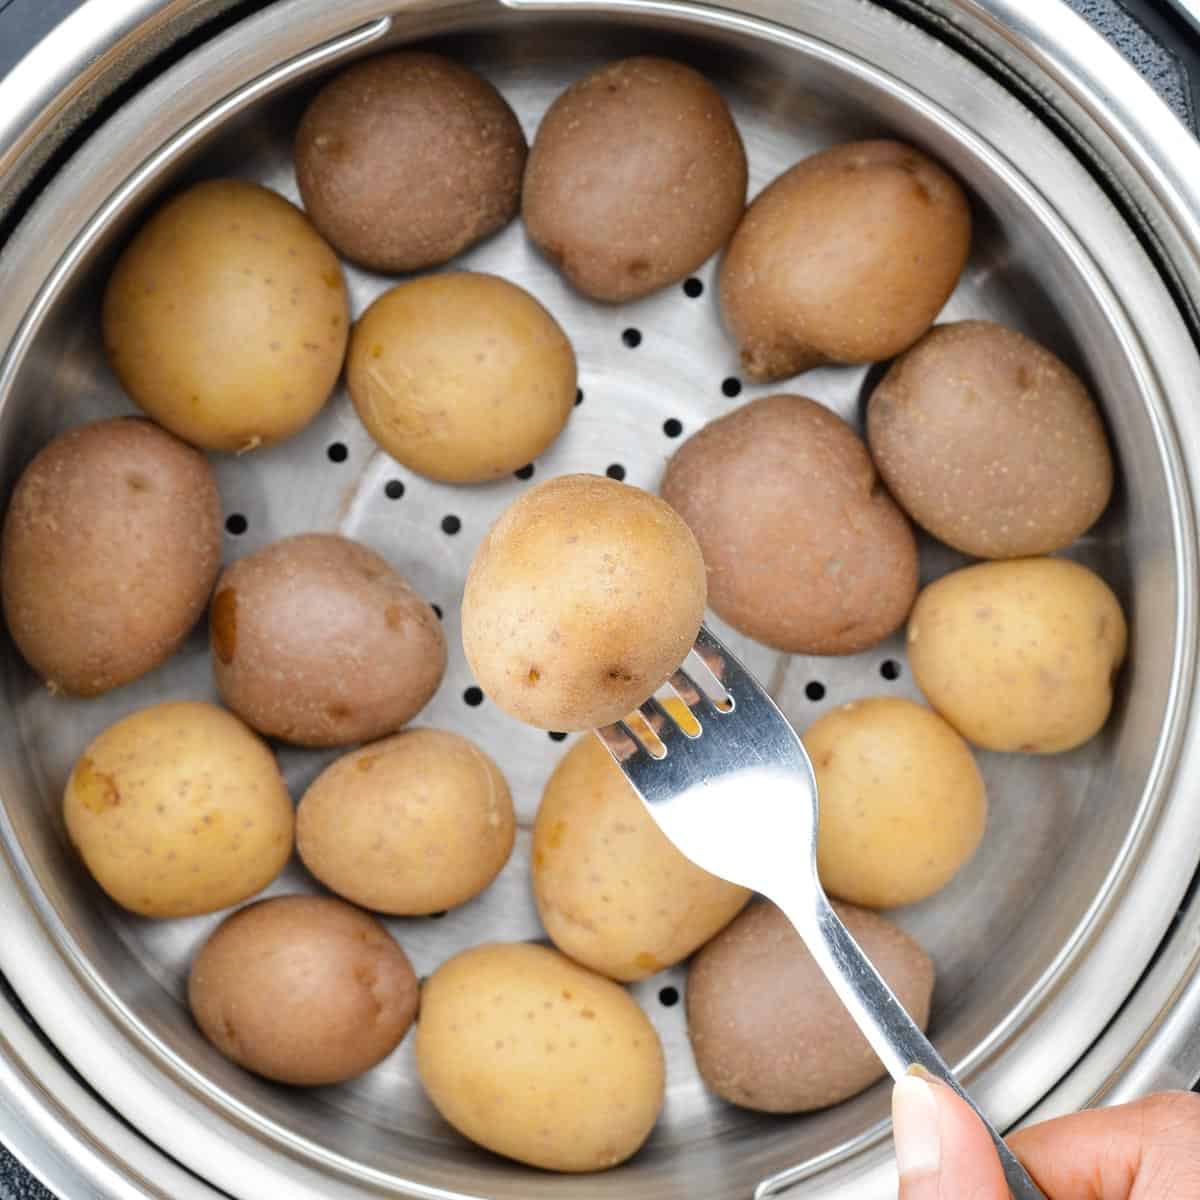
- Next, place the trivet in the pot, and place 4 large eggs on the trivet. I have used refrigerated eggs straight from the fridge, and I recommend you do the same.
- Then close the lid, and ensure the multipot is sealed.
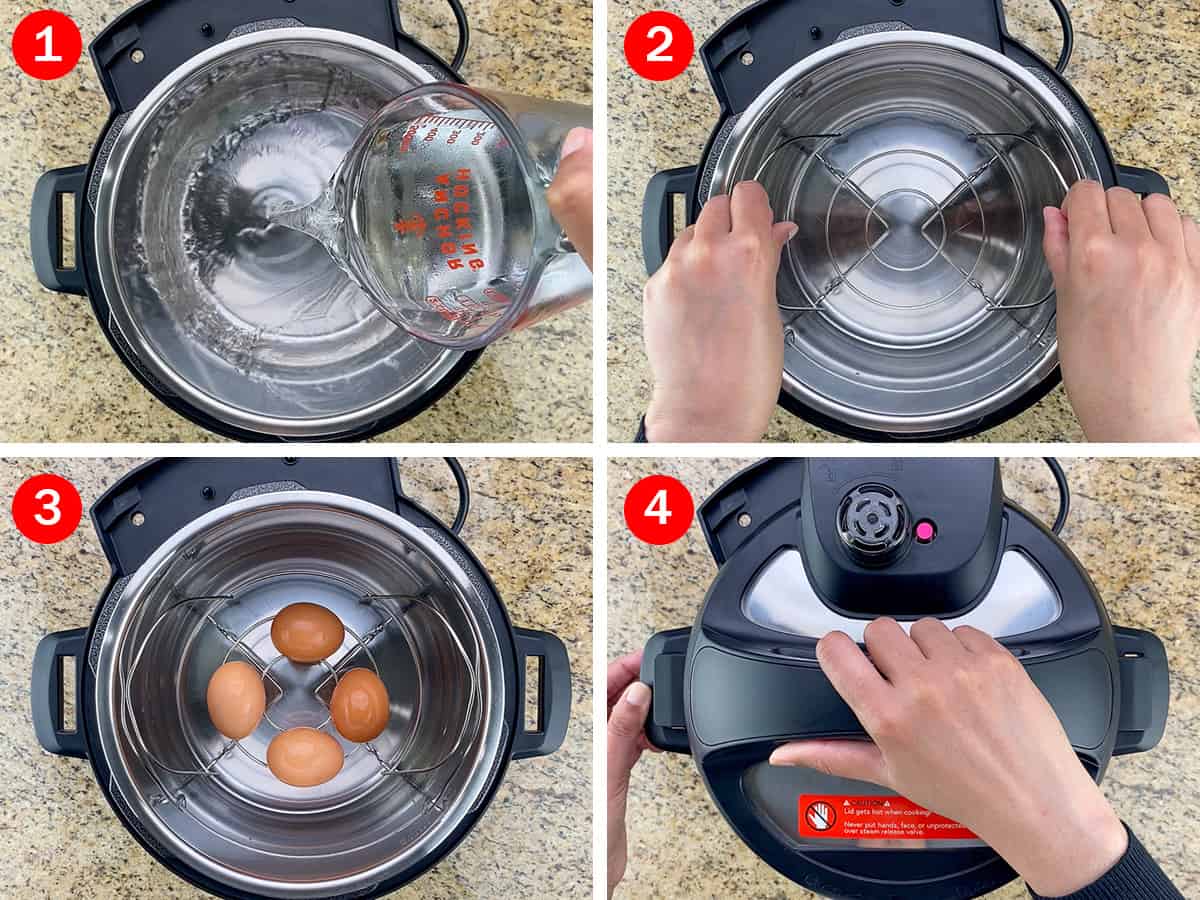
- Select pressure cook mode to be LOW pressure, time to be 2 MINUTES, and pressure release style to be NATURAL.
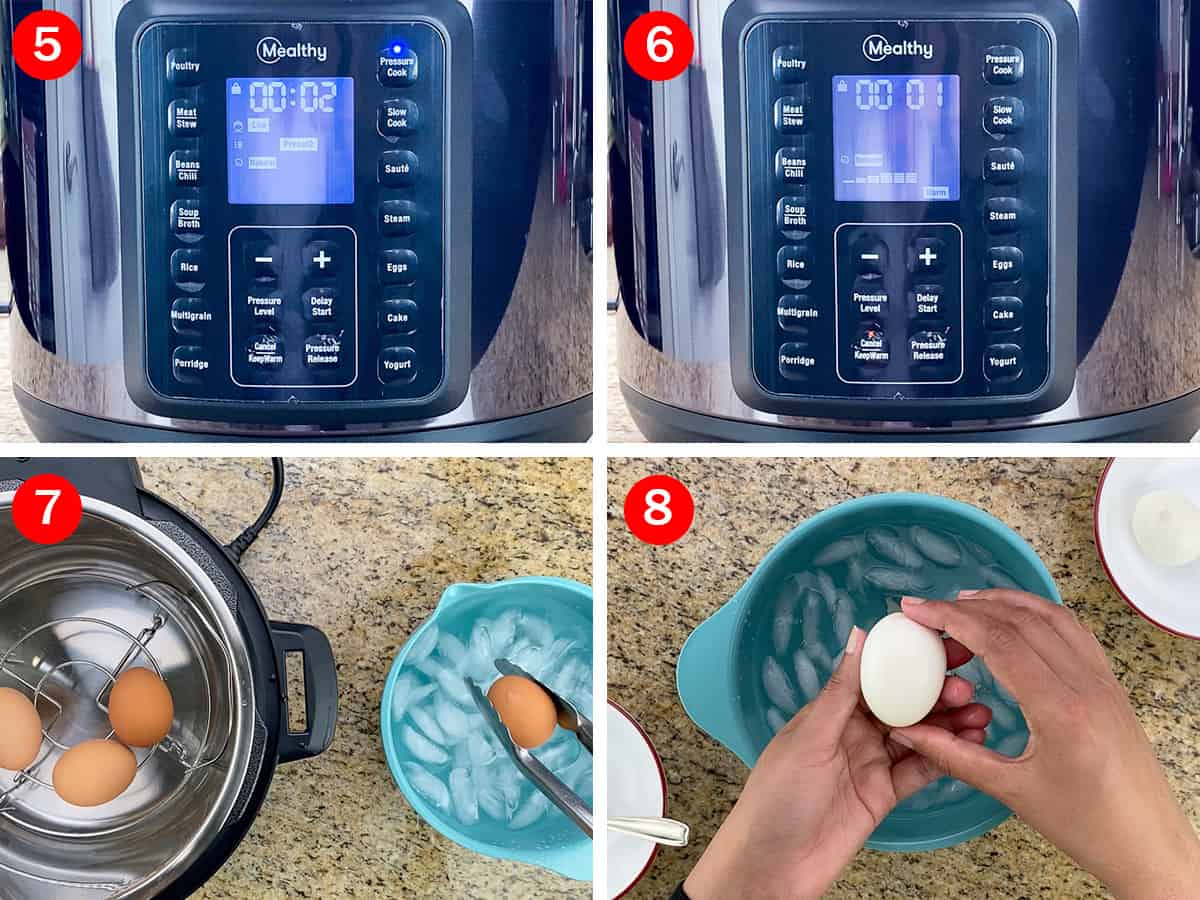
- The pot will first preheat, and then pressure cook the eggs for 2 minutes. Once the cooking cycle is complete, wait for 1 minute on the display, and then manually release all the pressure from the pot.
- Once the pot is depressurized, open the lid, and get the eggs out of the pot, and transfer them directly to an ice bath for about 5 minutes, to stop the further cooking of eggs.
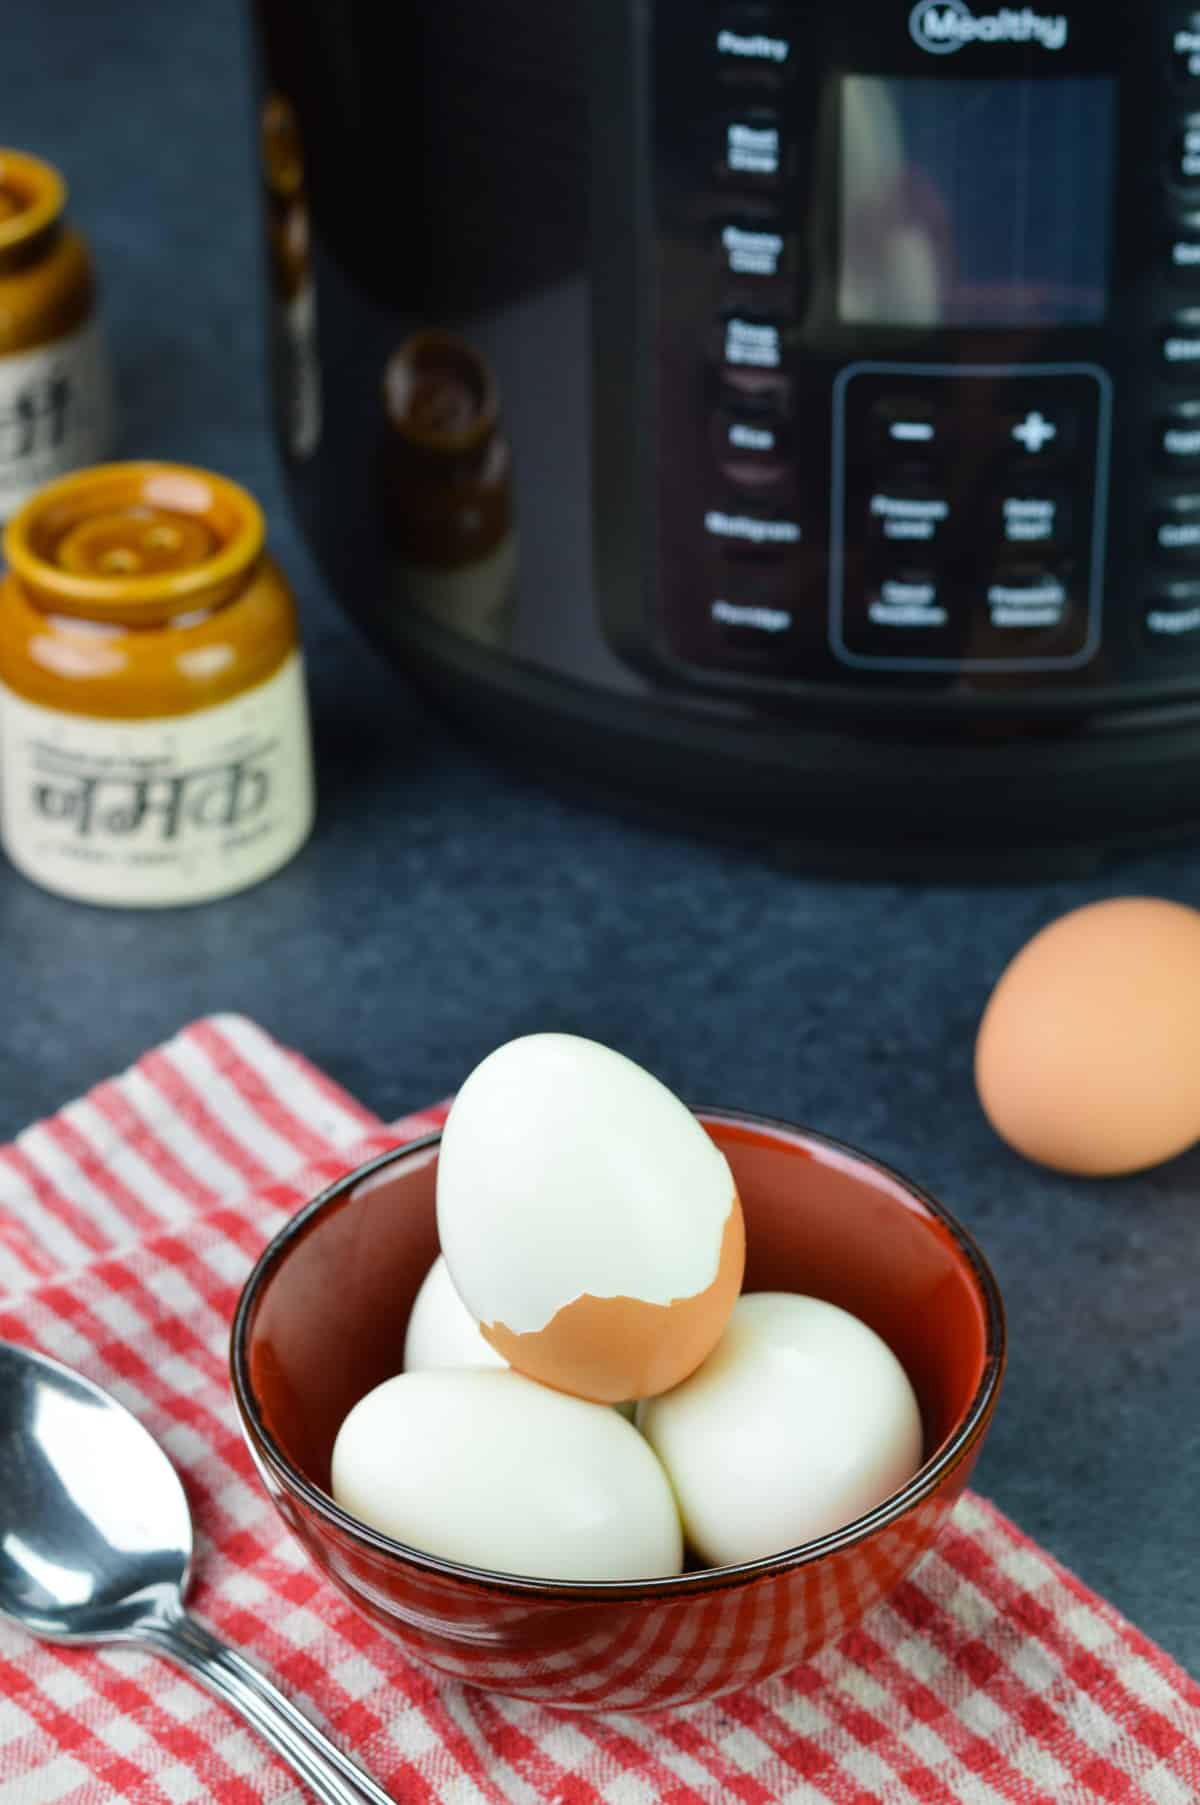
- Then start peeling the eggs, and cut & serve. Easy peel soft boiled eggs are ready.
Recipe Variations
There are a few variables (listed below) to consider when making soft boiled eggs in the pressure cooker. You can tweak these variables to tweak the texture and consistency of the yolk.
Of-course, if you need a starting point to tweak the recipe, you can check out my list of pointers on what to keep constant and what to tweak, based on my many experiments of making soft boiled eggs in the pressure cooker.
The Variables
- The quantity of water
- The temperature of water
- The temperature of eggs
- Pressure cooking time
- Pressure release mode
- Ice-bath post cooking
What to Keep Constant + What to Tweak
- No matter what your preferred consistency of the yolk is, I strongly recommend using 1.5 cups of really cold water. This quantity and temperature of water is required for the eggs to cook well.
- I also recommend using refrigerated eggs, because this recipe is timed based on the temperature of eggs. However, you can use room temperature eggs. Just know that they will cook faster, and you'll need to probably tweak other variables accordingly, including the temperature & quantity of water. I have personally not tested this, so I cannot recommend using room temperature eggs.
- The final thing I recommend to keep constant is the ice-bath after cooking eggs. As it helps to stop over-cooking of the eggs, and also makes it easier to handle to peel them.
Which leaves us with the pressure cook settings and the time required for soft boiling eggs - the only things left to tweak to get the perfect easy peel soft boiled eggs in the pressure cooker.
Pressure Cook Settings + Time Needed for Soft Boiled Eggs
- HIGH vs LOW pressure: I first tried 3 minutes, then even 2 minutes high pressure, with immediate quick pressure release, and that did not work for me. It used to result in almost hard boiled eggs, with slightly soft yolk. Clearly not what I wanted, but if that's what you prefer, there you go.
Then I switched to low pressure, and tried 3 minutes low pressure, and that gave me jammy eggs. Which again wasn't what I wanted, but I know many folks prefer that, so if you want jammy soft boiled eggs, try 3 minutes low pressure, with immediate quick pressure release. - Pressure Cook vs Pressure Release Times - Once I figured out that 3 minutes low pressure gave me jammy eggs, I knew 2 minutes low pressure would be the sweet spot for me, to get that silky yolk I wanted. And it worked!
2 minutes low pressure gave me perfect soft boiled eggs. But they were NOT easy to peel. Which was disappointing, and so I knew I wanted to tweak the recipe to try and get easy peel eggs.
But tweaking the pressure cook time was not an option, as increasing the time to 3 minutes would give jammy eggs, and reducing the time to 1 minute, would result in under cooked runny whites, which was definitely not what I wanted.
So I kept the 2 minute low pressure constant, and selected pressure release style to be natural, instead of immediate quick pressure release, and let the pressure release naturally for 1 minute after the pressure cooking cycle was over, before manually releasing the pressure from the pot.
And that finally gave me perfect easy peel soft boiled eggs. Which I have demonstrated in the video below.
Video Recipe
How to Store Soft Boiled Eggs
Soft boiled eggs are best stored unpeeled, and they last well in the refrigerator for 2-3 days.
When you are ready to use them, simply heat them in simmering water on the stove for a minute or so. That will warm them up, without overcooking the eggs.
New to Mealthy Multipot? Check out these posts:
Mealthy Multipot 2.0 - Review and Overview
How To Do The Mealthy Multipot Water Test
Easy Hard Boiled Eggs in Mealthy Multipot
As always, I hope you found this recipe useful. If you did, please let me know your rating ⭐️ and feedback ? in the comments below, or simply rate the recipe right on the recipe card. I'd really appreciate it. ❤️
Pressure Cooker Soft Boiled Eggs
Equipment
Ingredients
- 4 large brown eggs refrigerated
- 1.5 cup water really cold
Instructions
- Plug in the Multipot, and pour 1.5 cups of cold water in the steel inner pot.
- Place the trivet in the pot, and place the eggs on top of the trivet.
- Then close the lid, and ensure the Multipot is in sealing mode (if you don't have an auto sealing lid, and have to do it manually).
- Pressure cook on LOW for 2 minutes, and select the pressure release mode to be – natural.
- Once the pressure cooking time is up, let the pressure release naturally for 1 minute, and then manually release all the pressure from the pot by pressing the pressure release button.
- Remove the eggs from the pot, and place them directly in an ice bath, and let them sit in the ice bath for 5 minutes.
- Once the 5 minutes are up, start peeling the eggs.
- Perfect, easy peel, soft boiled eggs are ready to serve / store.
Notes
- Refrigerated Eggs: This recipe uses refrigerated eggs. Times will vary for room temperature eggs.
- Water Qty + Temp: It's really important to use 1.5 cups of really cold water for this recipe. Because the quantity and temperature of water will determine how much time the Multipot takes to come to pressure. If the water is cold, the Multipot takes a few additional minutes to come to pressure, which means more cooking time for the eggs.
- For jammy soft boiled eggs - 3 minutes low pressure, with immediate quick pressure release.
- For hard boiled eggs with slightly soft yellow - 2 / 3 min HIGH pressure with immediate quick pressure release.
- Soft boiled eggs are best stored unpeeled, and last well for 2-3 days in the refrigerator.
- The best way to reheat refrigerated soft boiled eggs is by putting them in simmering water on stove for 1-2 minutes. It will warm up the eggs without overcooking them.
Nutrition
Video Recipe
If you'd like FREE recipes and meal prep ideas delivered directly to your email inbox every Friday in one short email, then subscribe to the Foodie Friday list HERE, and never run out of ideas on what to cook over the weekend or prep for the week ahead. 🙂

Rajlakshmi says
How I love soft boiled eggs! But none in my family here like it so I have to hard boil mostly. Thank you for sharing your way of cooking eggs.
Shantala's Kitchen says
I am a more recent fan of soft boiled eggs. It's my hubby who loves it more. Though I do love half fried eggs - they are a breakfast staple for us. But now I see soft boiled eggs being added to the list. 🙂
Rachna says
My husband loves his soft-boiled eggs. Making it in pressure cooker is very unique. He has his recipe in the bowl documented to exqct minutes. 🙂 After he takes out his soft-boiled eggs, I keep them for a couple of minutes more in hot water so that the yolk gets cooked. Did I tell you that I really dislike boiled eggs?
Shantala's Kitchen says
I am not a huge fan of eating boiled eggs as is either. I usually use hard boiled eggs to make anda curry, and pair soft boiled eggs with avocado toast. But yeah, boiled eggs on stovetop need all the help.. tried, tested and documented number of minutes, and prayers. 😀